Monday, July 30, 2012

More Fall Cards

Fall ... the season of change and I sure wish it would hurry up and do so! If only wishing would make it so. :)
This is not a typical sized card, but rather a tall ... skinny card.  Sometimes you gotta change it up a bit.
  Embossed background - Cuttlebug embossing folder. 
Leaves - Cricut Designer's Calendar cartridge
 Rake is handmade and inspired by my love of old garden items.  The more modern rakes on my Cricut cartridges just didn't give the aged feel I was looking for ... so I created my own by cutting strips of cardstock and gluing together.  To make the rake tines more realistic I curled down the tips.  

I purposely tried to rough the edges of this card for something different.  
Cricut Cartridges:
Simply Charmed - tree
My Community - fence
Designer's Calendar - leaves
That's it ... nice and simple.  Thanks for looking!

Saturday, July 28, 2012

BUSTER BAR DESSERT

Well, the triple digit temperatures continue on. :(  I figured my family needed something to help them beat the heat and I knew the perfect recipe for this.  Doesn't it look YUMMY?! :)
This recipe comes from one of my favorite Country Cookin' cookbooks.  It's really simple to make and it tastes like a Peanut Buster Parfait from Dairy Queen.  To get the full enjoyment it's best to let it freeze for several hours or overnight if you can.  Perfect make ahead dessert for that summer potluck.  Enjoy!


Buster Bar Dessert

1 pkg. Oreo cookies ... crushed
1 C. butter - divided 
Half gallon vanilla ice cream ... softened
1 lb Spanish salted peanuts
2 C. powdered sugar
2/3 C. chocolate chips ( I prefer semi sweet )
1 can evaporated milk 

Stir together crushed Oreo's and 1/2 C. melted butter.  Press into the bottom of a 9x13 pan.  Spread ice cream over the top of the Oreo crust and sprinkle with peanuts.  Place in freezer.  In a medium sauce pan add remaining 1/2 C. butter, chocolate chips, evaporated milk and powdered sugar.  Bring to a boil over medium heat and boil for 10 minutes, stirring constantly.  This is the best hot fudge sauce and it's so worth the time rather than using store bought.  :)  Once you remove from heat let it cool.  Once cool spread over the top of your dessert and put back in freezer.  It's best once it gets good and frozen so don't rush it. ;)  Remove from freezer 10 or 15 minutes before serving.


Tuesday, July 17, 2012

FALL WINDOW CARD

With temperatures remaining in the triple digits and no rain in sight ... all I can think of is FALL!  The balmy afternoons and cooler nights make me want to bake, cook and enjoy home.  It's absolutely my favorite season.  For now I will have to resort to crafting and dreaming about it. ;)   
I created this card using the Grand Madison Window die.  Leaves are from the Cricut Designer's Calendar cartridge.  Pumpkin is made with a 1" circle punch.  I hand curled  thin strips of cardstock to add to the pumpkin stem.
I love the colors of fall ... they are so pretty.  I am finding in my crafting I love the addition of an unexpected color such as the blue along side traditional fall colors.  Pattern paper is from DCWV.  It's the fall stack from a couple years ago.

Monday, June 25, 2012

Onesie Album ... DONE! :) Lots of Pictures

You read it right ... I am finally done! Yippee :)  Since these are pages I am adding to an album ... they are not themed so much towards things like diapers and bottles, but rather seasons and holidays.  You can see the original album Here.  Click on pictures to enlarge. 
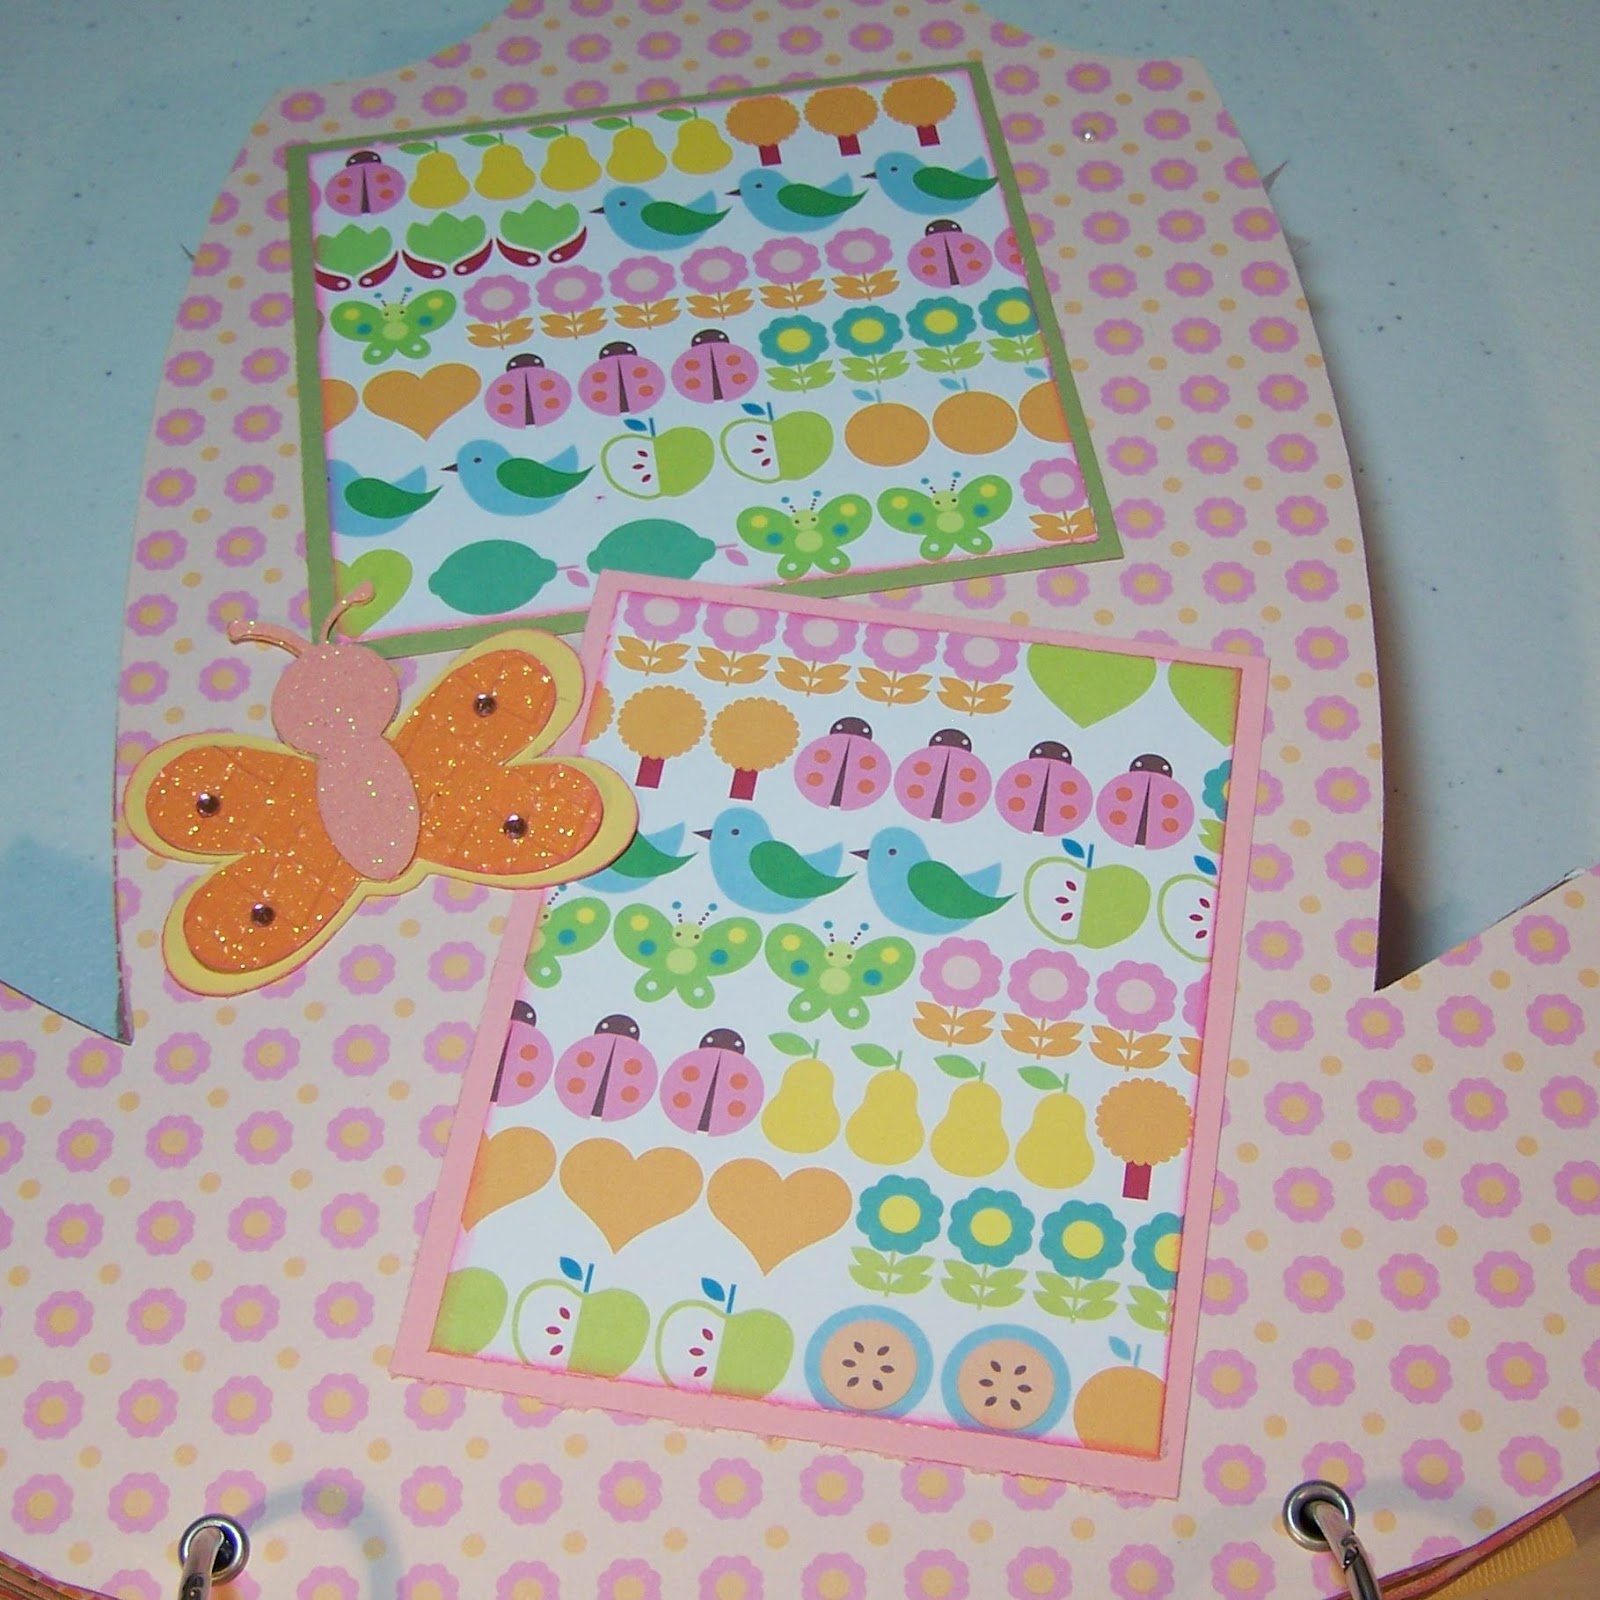
This is the back cover of the original album.  I kept it very simple and simply added a couple of photo mats and a cute butterfly from the Cricut New Arrival cartridge.

Here is the first page of the new pages.  Since the paper stack used on the original album cover is no  longer available I used a soft pink that coordinates with the flowers in the original album cover.  Then I made matching photo mats and a matching butterfly to tie the pages together.

Easter themed pages for her first Easter.  Again, pretty simple pages with a few little extras such as sewing around the photo mats and cute little faces on the bunny and chicks.  Bunny, basket and eggs are from DoodleCharms and stack of chicks is from Stretch Your Imagination.    

Love how the little bunny is peeking out from behind the photo mat.

Glossy Accents used to give shine to the eyes, cheeks and wings.

Here is that adorable cardstock I previously posted from Bella Blvd.  It is so Cute and made the perfect background for a couple of fun summertime pages.
There simply was no room for any photo mats on the first page ... so this page is all about the die cuts and the 2nd page is for the photos.  The Adorable sun that I love so much and have used on many of my projects is from Doodlecharms.  The title is from Base Camp and the branch is from a Cricut cartridge, but I can't remember which one.  Anyone else know?  I am thinking possibly a Lite cartridge, but darn ... I can't remember.  The monkey and elephant are hand cut out of the Bella Blvd. cardstock and lightly inked along the edges.

Photo mats with machine stitching.  That simple little bit of stitching adds so much.  Worth the extra time it takes ... I think. 

Fall & Halloween ... I just love the color combination used for these pages.  That pop of plum pink mixed with traditional fall colors is perfect.  Cardstock is from a DCWV fall stack.

My niece was dressed up as a little piece of candy corn so it was only appropriate that I included a cute little candy corn character. Face is a Peachy Keen stamp.  Pink chalk was used to give it little rosy cheeks.  Candy corn from a Cricut cartridge, but it's not a main image.  It's in with a group of candy so you have to cut it really big or use the real dial size key.  Now ... which Cricut cartridge you ask?  I'm not sure, lol.  I am sorry it took me so long to get these pages done.  I should have written down the details as I was going along and I didn't.  I will try and get the name of the cartridge and update this post.  I want to say possibly the Paper Dolls cartridge as that is the cartridge I used for the not so scary ghost and  trick or treat bag.

Title and scarecrow are from Simply Charmed.  Fence is from My Community and pumpkin and leaves are from Everyday Paper Dolls.

Swiss Dots embossing folder and a little machine and faux stitching along with a jute bow complete the candy corn.

Another cute face using Peachy Keen face stamps.  Lots of ink on the leaves for that autumn look.

For the Christmas pages I wanted to keep with the color them of the album so I used pinks and reds rather than the traditional red and green.  I decided those colors called for a whimsical Christmas tree with lots of sparkle.

Simple page with photo mats and a chipboard monogram letter for her first name.  It was a glittery letter so all I did was add a few little gems to bling it up.

Tree is from Winter Frolic.  Bows on presents are premade felt stickers and I so wish I would have bought more of them.  I found them at Big Lots some time ago.  Stickles was used to give tree it's sparkle.  Machine stitching would have been nice on the photo mats, but I was getting tired. ;)

Finally the Grand Finally!! ;)  Her first birthday!  In doing her birthday pages I did the best I could to recreate and capture her birthday party on paper.  I wish I had a picture for you to see, but I don't so I will try to explain it with each picture.   

First ... she had a cupcake themed party done in pink & brown.  We made cupcake party invites that you can see Here.  The saying inside the invite said something about our little cupcake is turning one ... thus the tag and saying above.  Burlap was used in her party decor thus the burlap photo mats.


This page is a recreation of her party table.  There was a cute little white wooden fence as the backdrop.  It had an adorable burlap banner with cupcakes hanging from it.   In recreating this I found that to get the fence tall enough so it was taller than the cake it looked out of proportion.  To remedy this I added a cute little pocket out of pink polka dot paper and a brown scallop border to the bottom of the fence.  The little banner is out of burlap and I used Liquid Applique and glitter for the cupcake "frosting" and a little glass heart on the top of each cupcake.

Now, her birthday cake was ... well ... it was Fabulous!! :)  It was two tiers with a third layer that was a giant cupcake.  Oh did that have the ideas going in my head. ;)  This was the funnest little cake to make.  The cupcake is from My Kitchen and the two tier cake is from Simply Charmed ... I think.  I did tilt the cupcake on purpose ... one to give a little whimsy and two ... I thought that's how it was on her cake, but I think I must have been dizzy when I was looking at it as her mom say's no, I think it was straight, lol.

I couldn't stop with the cake table as she had this Adorable fluffy party hat and these cute balloons tied to her highchair so I had to add a couple more birthday pages to complete it.

Party hat is from the Celebrations cartridge and cut nice and big.  I think around 5"?  It is embellished with machine stitching and yarn fibers.  I just love how it turned out.  

The child in the high chair is from A Child's Year.  I embellished the little hat to look like her party hat... fluffy.  I didn't have a tiny brown button or I would have used it in the pompom of the hat.  I improvised with a light yellow button which doesn't stand out as much.


Added a few presents around the highchair to complete the page.

Balloons on the back of the highchair and another photo mat accented with burlap.


Finally the back of the album.  I can't say I'm thrilled with the back of the album and I so wish I could have found the original paper to match the front of the album.  I decided to be brave and try the DCWV fabric stack for the album back.  I made it work, but probably wouldn't do it again. It just doesn't cut nice and clean on the Cricut like cardstock.  However, a little lace or ribbon and no one will be the wiser. ;)

One thing to keep in mind ... the kind of embellishments you add to your album ... as it can get pretty thick and bulky.  There is nothing wrong with that unless you are going for the look of a nice flat little onesie album.

That was a lot of photos!!  I hope you have been inspired.

Sunday, June 10, 2012

Baby Onesie Album - Sneak Peek

I promise I am ALMOST done with the onesie album pages I've been working on ... well, for months. ;)  I am working on the last two pages ... then I have to tie the original album (see it HERE ) and the additional pages together to make one album.  After that I do not even want to see a onesie album for a very long time, LOL!  For now I thought I would post a couple sneak peeks.  By this time next weekend I hope to have it done and will post lots of pictures.
Fall & Halloween pages ... for her first Halloween she was a little candy corn so I just had to incorporate that into the fall pages, somehow.  I was going to give the candy corn a trick or treat bag and add little  hands, but decided it looked better without. ;)

Isn't this the cutest paper, ever!  I found it at my LSS and it is by Bella Blvd.  When I saw it I knew I had to get it for the album.  It was so fun to work with and I really like how the pages turned out. I can't wait to post them.  How about a hint for now ... the pages are summer themed. :)  Keep your fingers crossed and I will try to get it done this week.  

Wednesday, May 23, 2012

It's Harvest Time ...

Yes it is!  We are about 2 or 3 weeks earlier than normal and are already in the field cutting wheat.  That means I'm back in the kitchen trying to come up with good meals that are easy to pack up and take to the field.  I have a couple of recipes I thought I would share along with a few snapshots of the farm.  Sorry no crafting in this post, BUT remember the onesie album I was working on additional pages for???  I know it's been a while ago, but I am very close to being done.  I hope to squeeze in some crafting time very soon to finish it up and I will have lots of pictures to post.

Harvest 2012


On our farm ... getting equipment ready to go

I  snapped this peaceful picture this morning from our back deck.  Right now we have a mamma  duck and her babies as well as a mamma and daddy goose with their little ones on the pond.  I love to sit and watch the geese fly in (they put on quite a show and are quite noisy). :) 

 I will get some pictures of actual wheat cutting and post soon.  This has been a good year for us to grow wheat and the fields are just beautiful. 

On today's menu ... Cheerios treat bars ... from my collection of recipes and the ultimate meatloaf sandwich ... an original creation. :)  Let me start by saying ... I'm not one to create recipes.  I am good at following them, but don't create too many that I care to pass on, LOL.  However, today I am going to step out on a limb and share a recipe that took many tries to get to my liking.  It is now a family favorite and I hope you like it too.

Cheerios Treat Bars
3 Tbsp. butter or margarine 
1 pkg. mini marshmallows
1/2 C. creamy peanut butter
5 C. Cheerios
1 C. M&M's candies

Place Cheerio's and candies in a large bowl and set aside.  In a sauce pan over low to med. heat melt butter, marshmallows and peanut butter until smooth, stirring continually.  Pour over Cheerio's and M&M's and mix well.  Mixture is thick so you just have to keep stirring until cereal and candy is coated.  Press mixture into a greased jelly roll pan and cut into bars.  I find it easiest to coat my hands with butter and press mixture into pan rather than using a spoon to press down.

Before I share my meatloaf recipe I have to admit ... my family has not always been crazy about meatloaf.  With other recipes I tried they didn't like the texture and always thought it lacked flavor as well as having too much tomato sauce.  Could  they find anything else wrong? ;)  That started me on my search for a better meatloaf and I think I finally have it. :)  The secret to more flavor and better texture ... stuffing mix!  That's right stuffing mix rather than crackers or bread crumbs.  This little change makes an amazingly delicious loaf.  Sooo Yummy! ... at least we think so. :)

Ultimate Meatloaf or Meatloaf Sandwich


2 lbs ground beef
2 eggs
1 box stuffing mix (we find the chicken stuffing adds excellent flavor, but can use flavor of choice).
1 can tomato soup - undiluted
ketchup - a good squirt or approx. a 1/4 C.
minced onion - optional
dash salt - the stuffing and soup add a good amount of salt so go easy.

Topping:
ketchup
pepper to taste
shredded cheddar cheese - approx. 1 to 1 1/2 C.

Preheat oven to 375 degrees.  In a large bowl mix ground beef, eggs, dry stuffing mix, undiluted soup, ketchup, salt and onion if adding.  Mix well and place in a 9x13 casserole dish.  For topping add a good squirt of ketchup and spread to a thin layer.  Add a sprinkling of pepper and cheddar cheese.  I press the cheese down into the ketchup so it bakes up around it, but it's not a necessity.  Cover and bake for 45 minutes to 1 hour until done, then uncover and bake an additional 10 min. or so ... or place under the broiler on high for 5 or 10 minutes to brown the topping. 

To make a really good sandwich with the leftovers or the first time around ... slice warm meatloaf into thin slices and place on butter toasted buns.  Then mix Miracle whip with horseradish to taste and spread on buns.  The horseradish gives it a nice kick.  Hope you enjoy!

More crafting soon!

Tuesday, April 3, 2012

Think Spring ...

By starting with a sheet of cardstock that was already decorated with the cute little birdhouses, this layout was a snap to put together.  
Sometimes it's hard to know how to use the preprinted pages and make them your own.  It's easy to stop with just a few photo mats.  However, as you can see ... it doesn't take much to really bring them to life.  Right away I knew a fence in front of the bird houses was a must.  The flowers and butterflies are plastic buttons I've had in my stash for awhile. 
 This page is so bright and cheery and it just wouldn't be complete without a little sunshine.  Had to throw in a small cloud to help the sun stand out.  Love the journal tag that matches the cardstock.  I stamped the "spring has sprung" sentiment on it.
 Materials used:
Cardstock & Journal Tag - DCWV Spring Stack (from a couple years ago).
Fence - My Community Cricut cartridge
Sun - Doodlecharms cartridge & Peachy Keen stamp
Cloud - Pooh & Friends cartridge
Misc. embellishments

Get well card using flowers & butterflies on Kate's ABC's Cricut cartridge.  Embellished flowers with Liquid Pearls.