
I'm so excited to let everyone know I will be shipping your orders out today. I worked like Santa's little elf last night to get it all packaged and ready to ship today! :)
When you get your order...there are a couple things to know:
1. There is a protective film on the front and back of each sheet.
2. This film can be hard to detect. It lays so nice and smooth that you wonder if they missed getting it on. It is there. Remember this material is... by my standard...crystal clear.
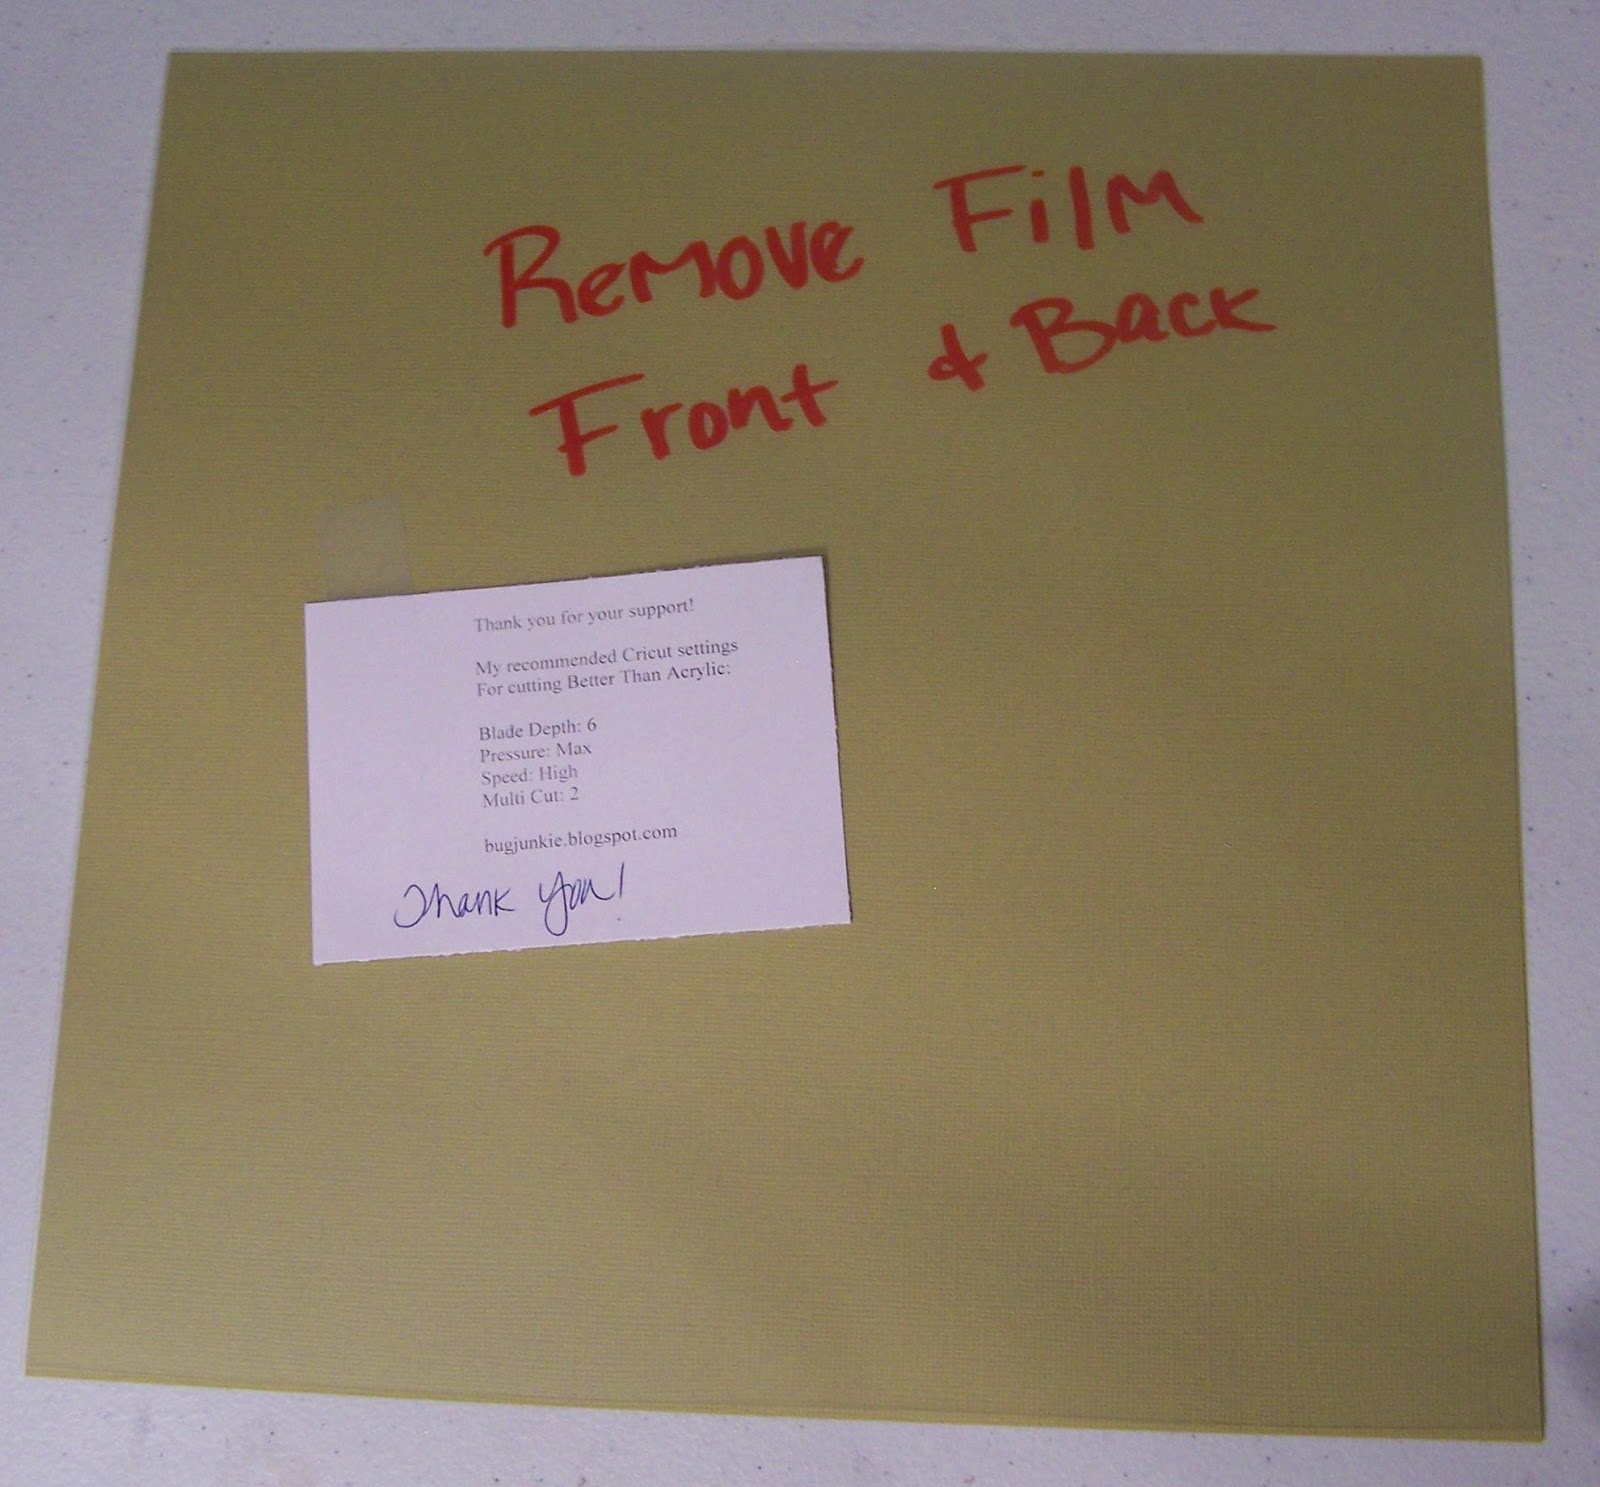
To help you remember I have included a little note on the 1st sheet of every shipment. As well as a cutting guide for your Cricut machine.
3. I want to do a video on heat embossing, but for now here a few tips to get you going:
A. This material will melt if not heat embossed properly. I recommend experimenting with a small scrap of BTA.
B. You want to get the embossing powder and BTA warm, but not hot. Do it for a few seconds then pull away. Do a few more seconds and pull away. Continue to do this until the desired result is acheived. Do not get in a hurry to get it done and leave it too long at one time.
4. My recommended Cricut settings for most cuts are:
Blade Depth: 6
Pressure: Max
Speed: High
Multi Cut: 2
If you are doing an intricate cut you might want to slow the speed down even more.
If your mat is very sticky and you don't want to chance getting adhesive on the BTA...try leaving the protective film on the side sticking to your mat... until after you've cut your image. I've only tried this on a very basic cut and it worked fine.
5. Dry Embossing through a Cuttlebug or Sizzix machine...I've had very good results with this. There are a couple things to keep in mind...
A. If your sandwich is too tight it can cause the BTA to curl.
B. For most embossing folders the basic sandwich works great. If you have a folder that seems to leave really deep impressions (I have one that I can think of) you might want to leave a plate out and add card stock shims in it's place. That way you can make the sandwich a little thinner.
Basic Sandwich Recipe:
Plate A
Plate B
Folder & Material (BTA)
Plate B
Hopefully this helps everyone get started using their BTA. If you have any questions at all when you get your order please let me know.
With work, family and getting ready for the holidays...I am Super Busy. I have many more projects to do, but will have limited time until after Christmas. I will try and get something posted this weekend if at all possible.
If anyone else wants to place an order for BTA send me an email bugjunkie@live.com.
Thank you all for your support! I hope you enjoy BTA as much as I have! I welcome any and all feedback once you have a chance to try it out.


No comments:
Post a Comment
Thank you for stopping by. Your support means a lot! Happy crafting and have a wonderful day!