Monday, December 31, 2012

Paper Piecing Teddy - Valentine Layout

I am super excited to show you my latest layout.  You see...for months and months I've been ooohhhing and aaahhhing over all the ADORABLE paper piecing projects that are out there.  However, I only had the Cricut so I had no way to create them.  That is until my super thoughtful sweetie gave me a Silhouette Cameo for Christmas.  And oh my... it is AMAZING!  It has opened up a whole new world of paper crafting.  Here is my first paper piecing layout and boy am I hooked. :)
   This cute little teddy and rock girl out fit are created from svg files from Treasure Box Designs.  You can visit them HERE.  All other cuts are from the Silhouette online store.  They are very similar to images found on various Cricut cartridges.
I can't say enough about how much fun I had doing this cute little teddy paper piecing.  One of the things I am most impressed with is how the Silhouette cuts such small details.  See the skull on the teddy's outfit...those cross bones and teeth are very small and slender.  It cut them Beautifully.  It even cut them perfect on my cheap black cardstock and that is Amazing!

Now you are probably wondering if I will continue to post projects made on the Cricut?  All I can say is...when I received my Silhouette...I had my mind set that I would utilize it along with my Cricut.  I planned to use what cartridges I already owned, but would not purchase new cartridges.  However, I am finding that I love the ease of cutting from files on my computer vs hunting for the right cut on a cartridge.  It is much easier and more time effective than I thought it would be.  For now...I will keep my Cricut and see how much I use it.  If I find that it never gets used I will probably sell it.  The good news is...with the exception of paper piecings...you will be able to use your Cricut and cartridges to recreate most any project I do. :)

Monday, December 17, 2012

Sneak Peek...Clear Explosion Box...

Tutorial coming soon... Clear Explosion Box using Better Than Acrylic.  Of course it does not have to be an explosion box.  There are multiple ways to keep the sides from exploding.  I wonder if Washi tape would hold the four sides together???
There is no lid on the box in the picture, but I do have a lid for it.  For the picture I hot glued the corners together.  I kind of made a mess and got hot glue all over the BTA.  Along with all kinds of fuzzy bits of burlap.  In my tutorial I will include a few tips on keeping your BTA nice and clear and glue free. :)

I Love how the little tree with ribbon curls turned out.  Along with the pretty little gifts.  I will include all the details in the tutorial.  If you were giving this as a gift with a gift card you could adhere the burlap around the edges only to form a pocket to hold the gift card.  Then it would be a present under the tree. :) 

This would also be really cute with a fireplace and stockings.  Perhaps using a tea light as the fire and build the fireplace around it.  Wouldn't that make the perfect little holiday accent light?  I just might give it a try and see what I  can come up with.

FYI...the BTA did not split or crack when making the box.  It held up perfectly.  I think the trick is to fold by hand and not use a bone folder to make an extra tight crease.

I am going to put the ordering information for BTA in my sidebar shortly.  For now here are the details once again.

Better Than Acrylic - 12"x12" sheets

$2.45 per sheet with a 10 sheet minimum order

No handling fee's, but there is a $1.25 fee for the mailer that I had to purchase. 

I can ship USPS priority mail or Ups ground service.  I will be happy to quote both to get the best price possible.

If shipping USPS insurance is optional, but recommended.  It runs $1.85 for $50.00 worth of coverage and $2.35 for packages over $50.00.  I am not responsible for uninsured packages.

If you are interested email me at bugjunkie@live.com.  Let me know how many sheets you would like.  Be sure to include your zip code and I will get you a quote.  TFL!   

Sunday, December 9, 2012

Better Than Acrylic Video Tutorial - Cutting on Electronic Die Cutting Machine & Heat Embossing...

Another video...I didn't realize how much I missed doing them! :)  You can find information on ordering BTA HERE.


Watch video to find out how to make this cute little snowman.


Saturday, December 8, 2012

Better Than Acrylic - Video

Finally I have a video for you.  It's my first video in over two years so I'm a little rusty.  Just focus on the product. :)  

  This video gives you a better look at this Amazing product.  The next video I do will start my actual tutorial series using Better Than Acrylic.  You are going to Love this stuff!

Ordering information can be found HERE

Friday, December 7, 2012

Better Than Acrylic...In The House & Shipping

I'm so excited to let everyone know I will be shipping your orders out today.  I worked like Santa's little elf last night to get it all packaged and ready to ship today! :)

When you get your order...there are a couple things to know:

1.  There is a protective film on the front and back of each sheet.

2.  This film can be hard to detect.  It lays so nice and smooth that you wonder if they missed getting it on.  It is there.  Remember this material is... by my standard...crystal clear.  
To help you remember I have included a little note on the 1st sheet of every shipment.  As well as a cutting guide for your Cricut machine. 

3.  I want to do a video on heat embossing, but for now here a few tips to get you going:

A.  This material will melt if not heat embossed properly.  I recommend experimenting with a small scrap of BTA.

B.  You want to get the embossing powder and BTA warm, but not hot.  Do it for a few seconds then pull away.  Do a few more seconds and pull away.  Continue to do this until the desired result is acheived.  Do not get in a hurry to get it done and leave it too long at one time.

4.  My recommended Cricut settings for most cuts are:

Blade Depth: 6
Pressure:  Max
Speed:  High
Multi Cut:  2
If you are doing an intricate cut you might want to slow the speed down even more.

If your mat is very sticky and you don't want to chance getting adhesive on the BTA...try leaving the protective film on the side sticking to your mat... until after you've cut your image. I've only tried this on a very basic cut and it worked fine.

5.  Dry Embossing through a Cuttlebug or Sizzix machine...I've had very good results with this.  There are a couple things to keep in mind...

A.  If your sandwich is too tight it can cause the BTA to curl. 

B.  For most embossing folders the basic sandwich works great.  If you have a folder that seems to leave really deep impressions (I have one that I can think of) you might want to leave a plate out and add card stock shims in it's place.  That way you can make the sandwich a little thinner. 

Basic Sandwich Recipe:
Plate A
Plate B
Folder & Material (BTA)
Plate B

Hopefully this helps everyone get started using their BTA.  If you have any questions at all when you get your order please let me know.  

With work, family and getting ready for the holidays...I am Super Busy.  I have many more projects to do, but will have limited time until after Christmas.  I will try and get something posted this weekend if at all possible.

If anyone else wants to place an order for BTA send me an email bugjunkie@live.com.

Thank you all for your support!  I hope you enjoy  BTA as much as I have!  I welcome any and all feedback once you have a chance to try it out.

Monday, December 3, 2012

What Happens To Your Craft Room When ...

you go on a crafting spree and don't allow time to clean in between projects?  
It looks like this! :(
I promise... there is a table under all that mess!
No wonder I haven't been crafting the last few days... I can't take the mess!  Yikes!!
There are cartridges, overlays and handbooks all over the place.  With trying so many new crafting techniques I think I have every tool I own pulled out.  

Today was the day I decided to tackle my mess so I could get back to creating.  
It's not perfect, but it's much better. 


I've only been in this room a short while so my walls are still pretty bare. 

 This spring I plan to paint my window well and decorate it up a bit.
 My poor embellishment center... still waiting to be hung.   
This cute little wire shelf is from back in the day.  It's from Home Interiors and was an awful gold color.  Nothing a can of spray pain won't fix! :)

Now you know what I have been up to.  I hope to get some crafting time very soon.  I have so many things I want to do and try... using Better Than Acrylic.  More projects to follow.  TFL! 

Tuesday, November 27, 2012

Frosty Kisses & Warm Holiday Wishes - Wall Decor using Better Than Acrylic, the Cricut and a Printer

Fun, Fun, Fun... that's how I am describing BTA.  I am truly having a blast trying all these new techniques.  Now that I've played with it awhile... I feel like I'm getting more creative. :)  Back to my story kind of projects rather than a single cut.

I love how the layering of pages gives so much dimension.  The top page is the lamppost cut from Cricut Noel and a computer generated title placed on a sheet of BTA.  More on  printing on BTA at the bottom of this post.
The 2nd page is a layer of "snow" and a cute snowman cut from preprinted cardstock... also layered onto a sheet of BTA.
The last page is patterned cardstock with the trees that show through the BTA.  Then hidden when the pages are closed is a pocket that can hold photos or mementos.  I added a quick tag just for the picture.  The pocket was left plain so it could be used to write a note or special memory.
The back  side of a page.  Images were adhered using my Xyron adhesive.  Because it puts adhesive evenly over the entire die cut... it gives a nice professional look on the back.  No need to try and hide the adhesive.  Now the back of the stripped oval would be a good photo mat or another journal spot.  
This was a very quick and easy project.  So  much more could be hidden in the pages if you like.  I was short on time so I kept it quick.

Here is my post with ordering information for BTA  HERE.  I am placing the order this afternoon.  If you miss ordering today and would like some... let me know as I plan to order some extra stock.

Printing on BTA - I do not think it will work with an inkjet printer as the ink will smear.  Also, all printers are different and some can take heavier mediums than others.  Try it at your own risk.  

Here is what I found:

My printer takes toner so it comes out dry.  Also I can load it from the front so I don't have to put the BTA in the paper tray.  I cut a sheet to fit my printer 8 1/2 x 11 inch and loaded it from the front.  It went through fine for me.  I have also cut small pieces of BTA and adhered to regular printer paper and ran through for small sentiments with good results.

One thing I did notice and I'm not sure why, but ever  so lightly it's almost like it printed my sentiment on my 8 1/2 x 11 sheet twice.  You have to hold it up to the light to see it, but there is a very light 2nd printing of the frosty kisses and holiday wishes.  It does not show in the photo nor does it show by looking at it in person unless you lift up the top page and hold it just right in the light.  Not a big deal to me, but wanted to share.

I have made several posts on BTA.  I will be compiling all the information I have to date in one post for you very shortly.  It will have my recommend Cricut settings and lots of details.  That way it's easy for you to get information when you get your order and are ready to play.  Won't be long! :)


Sunday, November 25, 2012

Baby Album ... Using Better Than Acrylic and Iron On Transfers

How about another fun technique ... BTA and iron on transfers ... Oh My! :) 

I must say ... I am new to designing clear albums and it does take a bit of thinking to get it right.  To keep this one easy I only did the cover in BTA and used cardstock for my pages.
I Love the cute iron on duck.  The perfect accent for my album cover.  

Let's take a closer look at the album cover...
The top cover is the iron on duck and a couple of rub on sentiments.  Here it is with some color behind it so you can see the rub on's better...

Where did the "BABY" go?  It is actually on the second page.  That's the fun part of making a clear album... experimenting with layers and placement of images.
This is not even a full page, but just big enough for my wording and a little machine stitching.  Baby is cut from Base Camp Cricut cartridge.  I used my Xyron adhesive for the letters.  It sticks perfectly to the BTA and gives a nice even layer so it looks good from behind.  (I wasn't thinking, but I should have taken a picture from the back side).  I will do that next time.

Here are the two pages layered together.  The dark paper is just for the picture.

I am not finished with the inside pages, but here are a few pictures.  I am keeping the inside very basic.


 The postage stamp embellishment is a die and folder that came with my Cuttlebug.  I used it with BTA and added a brown layer behind so it would show up better.

I haven't added anything to these pages yet, but had to show you because I Love this paper from K&Company.


There are so many ways of doing clear albums and pages.  However, there is one designer that truly inspired me with the layering of her albums and pages.  Kathy over at Chocolate Chips and Coffee.  If you want inspiration you must see her Amazing work HERE and HERE.  Her layering is phenomenal!  

Here is a quick leaf done in lighter colored alcohol inks, UTEE and BTA.
I bet embossing powder in place of the UTEE would give another pretty effect with the alcohol inks.  I will have to try that.

If you are interested in ordering Better Than Acrylic you can find ordering information HERE.

Thank you to all who have ordered.  I can't wait to see what you come up with using BTA.  I will try and figure out how to host a linky party so you can post a link to your projects if you like.


Tuesday, November 20, 2012

Better Than Acrylic and Alcohol Ink for A Stained Glass Look ...

I could not shut down the computer for Thanksgiving without posting a couple more BTA projects for you all. :)

Rather than frosty snow globes as in some of my previous projects... how about the look of glass or even better... stained glass.

Is your mind twirling with ideas?  "Glass" mobile for your porch or in front of a window.  A pretty place setting for your Thanksgiving table.  So many ideas for these little glass jewels!  Since you can cut  BTA on the Cricut you can make "glass" jewels for any occasion or project and in a range of sizes.

How to get the look of glass ... Ultra Thick Embossing Enamel aka UTEE.  Rather than a frosty look like embossing powder it is much clearer and shiny.  For stained glass all you have to do is add a little alcohol ink and let it dry... then proceed with heat embossing.  Are you as excited as I am?!  I only have three dark alcohol inks, but my mind is swirling with ideas for pretty pink and lime green... stained glass butterflies and flowers.  Or how about some red glass hearts for Valentines?  Of course I like the clear look, too.

How about one more project?

Sorry... had to make it another snowman! :)  Notice the snowman in red.  I over embossed it's twig arms to see if it would make them look more like twigs.  You know... a little more realistic.  They kind of curl up a bit.

Can't you see these little glass jewels strung on a garland or hanging from a branch on your Christmas tree.  Of course they would make adorable gift tags as well.

I am loving the "glass" look.  Face is a Peachy Keen stamp and Stayzon ink.  Cheeks are chalk over the embossed UTEE and a dab of Glossy Accents.  

I am beginning to think the possibilities for BTA might be endless.  I have so many things I want to try.  The days just aren't long enough. 

One thing about your Cricut cuts ... you can cut very small with very good results.  I cut a fairly detailed snowflake at 1 1/4" and it cut every detail Beautifully!  After Thanksgiving I will try some other detailed cuts and I will try to go even smaller and see how they cut.

I have several posts and projects on BTA... if you scroll the first page of my blog.  Here is the post with the ordering information if you are interested.  Ordering Information.  

If you email me after tonight regarding BTA... it will be after Thanksgiving before I reply.  I probably won't be back on until Sunday.  I hope you all have a Safe and Blessed Thanksgiving!!

Sunday, November 18, 2012

Better Than Acrylic - PreOrder Information & A Simple Project

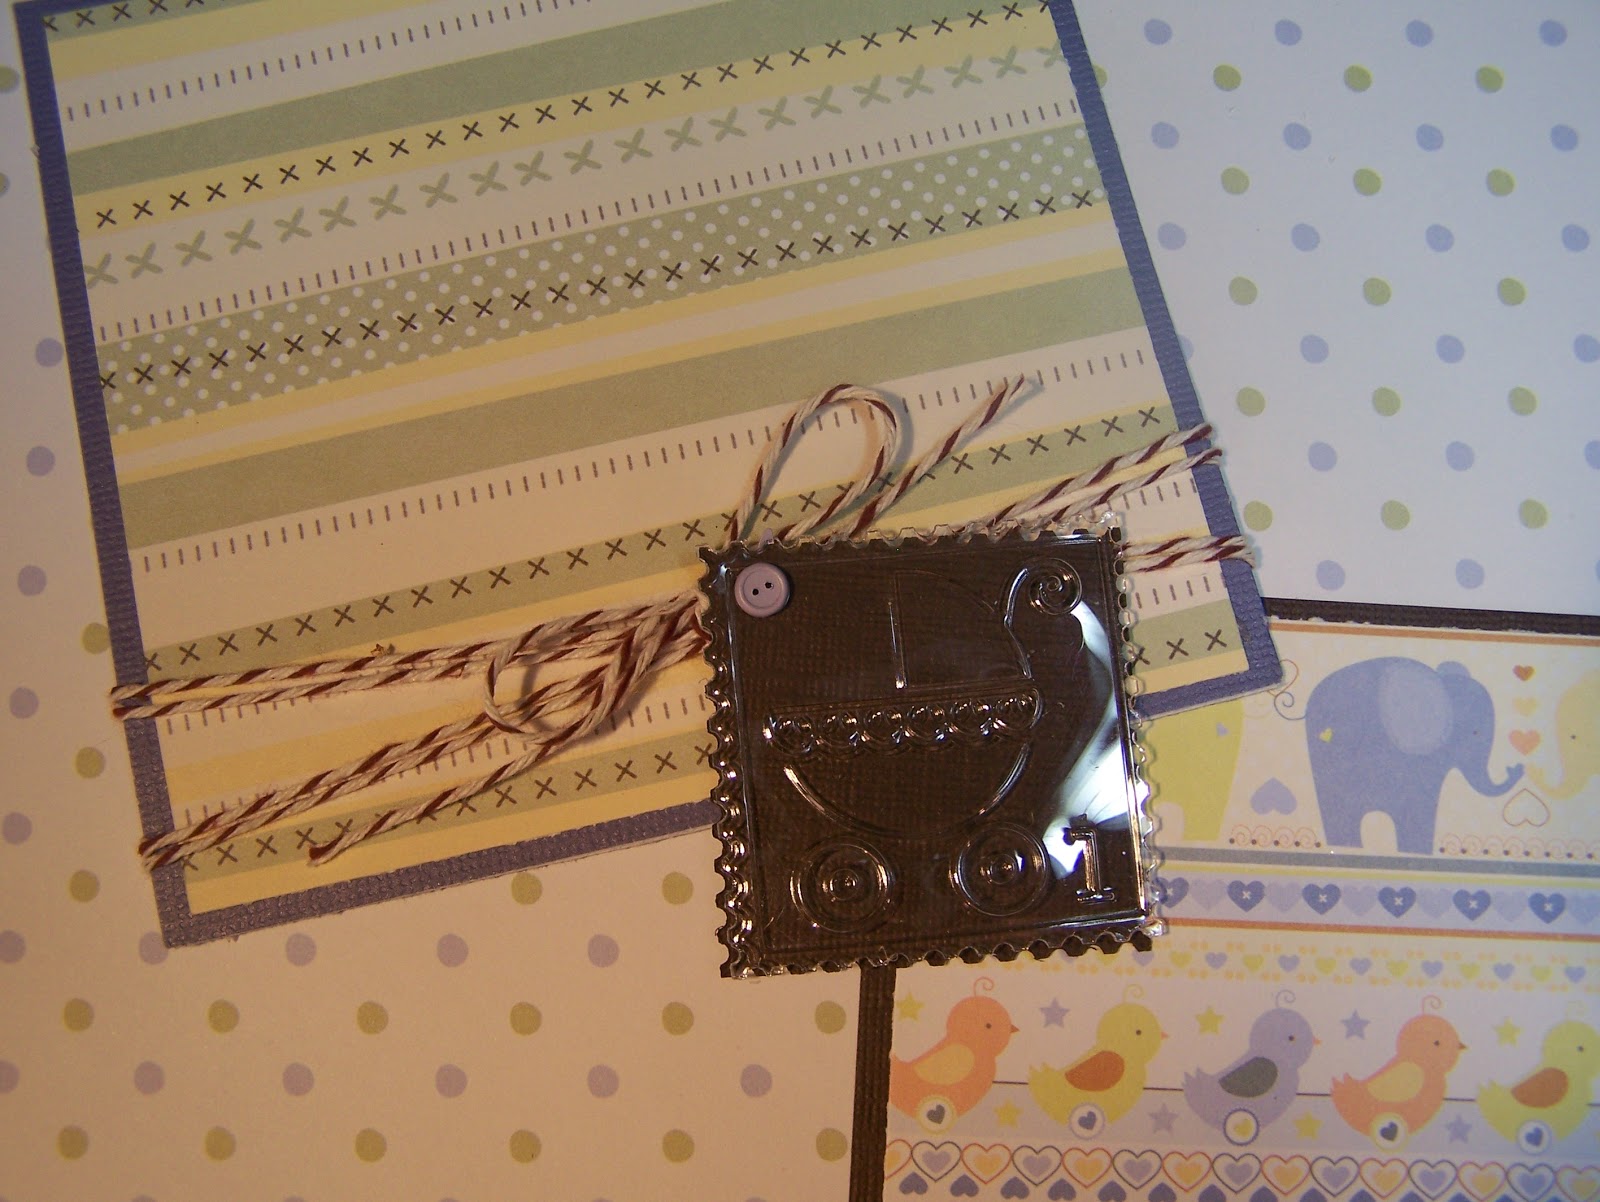
First here is a very simple snowflake cut from the Joys of the Season Cricut cartridge and heat embossed for sparkle. 
I Love how nice and clean all the details of the snowflake cut.  This snowflake was cut at 4", but I cut a much smaller one with the same great results.  I am telling you... this stuff cuts Beautifully on the Cricut.  
I have so many things I want to try using the BTA, but things have been so busy.  I haven't had as much time to play as I had hoped.  With trying to get ready for the holidays... I didn't pick the best time to launch this.

Also... I know I have been posting lots of snowy projects, but don't get stuck in the mindset of winter and snow.  How about a nice and frosty snow cone or a big glass of sparkly lemonade?  Or something a little more elegant such as a monogram page or card.  I bet a vinyl monogram would work beautifully on this.  I will have to try that...soon!  That's just a few more ideas and I bet you already have many more ideas for the Better Than Acrylic!


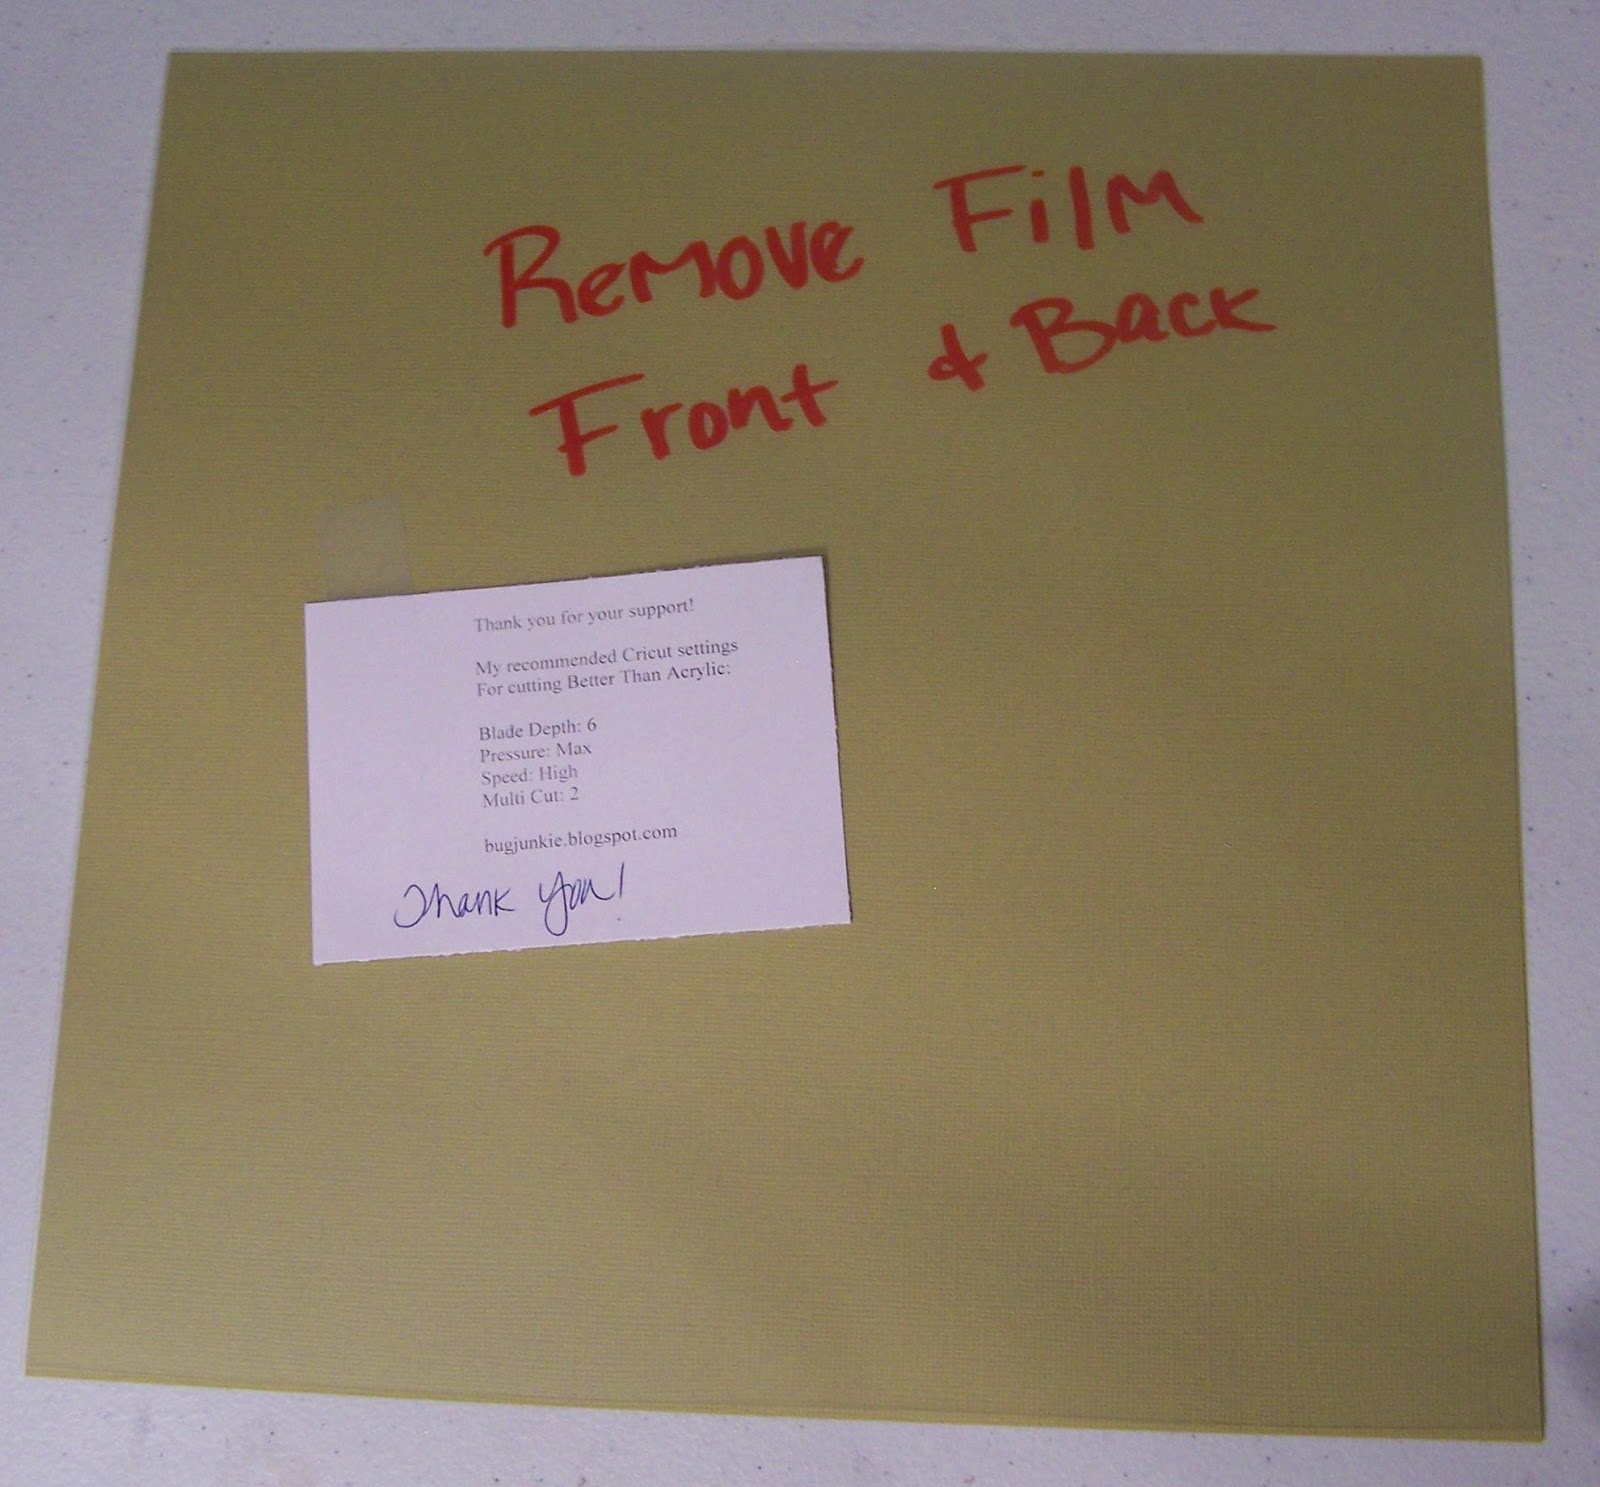
At last and without further ado... here is the information you have been waiting for.  If I missed something or you have a question please let me know.  My email is bugjunkie@live.com.

There has been a small change from my last post... I  am having the Better Than Acrylic cut down to 12" x 12".  It will be easier for me to handle and will be a lot easier for shipping purposes as well.  I think most of you will be happy with this change and if not... I apologize in advance.

I will be placing the order on Tuesday November the 27th.  My goal is to be shipping preorders out  by Friday December 7th and at the latest... Monday the 10th.  

The Better Than Acrylic is $2.45 per 12" x 12" sheet with a 10 sheet minimum order.  You can order in any increment over the 10 sheet minimum.

Shipping:

I will do everything I can to get it to you as economical as possible.  I will be happy to ship USPS or Ups.

If you email me with the number of sheets you want and your zip code I will get a shipping quote for you via both carriers.

Another option is to combine orders with your friends and family and make the most of a large flat rate box via USPS.  A large flat rate box shipped within the U.S. is $15.45.  Insurance is optional.  There is also a flat rate box for international orders and I can get a price if anyone is interested.  

I will not charge any handling fees.

I did have to purchase the mailers so there will be a $1.25 charge for the mailer.  Unless you want to ship USPS in the Large Flat Rate box as those are free of charge from USPS.

If you ship via Ups your package is automatically insured up to $100.00.  Insurance via USPS runs $1.85 for packages valued up to $50.00.and $2.35 for packages valued over $50.00.

I am not going to require you to insure your package if you are in the U.S., but I highly recommend it.  If you choose not to insure... I will not be responsible for lost or damaged packages.  I would at minimum get delivery confirmation.  I think it runs about 0.75.

I will ship internationally, but will require the package to be insured.

If you are needing chipboard I still have it listed in the left sidebar of my blog and will be happy to combine shipping with the BTA.

Payment

You can pay via Paypal.

You can also send a cashiers check or money order via snail mail.

I do have a merchant account if you want to pay with Visa, MC or Discover.

Placing Order  

Email me at bugjunkie@live.com and let me know how many sheets of BTA you want and the zip code I will be shipping to.

I will then get you a shipping quote and will get you the best price possible.

Once you get the shipping quote and are ready to order... you will need to email me and let me know.  I will then send you an invoice.

Once payment is received your order will be locked in.

I know this is a lot of information.  Please feel free to email me with any questions at all.

If you have missed my previous posts on the Better Than Acrylic you can see them by clicking the links below:


Better Than Acrylic - Snowman Card

Better Than Acrylic - On the Cricut

Better Than Acrylic - Heat Embossed Christmas Ornament


Once again I will be placing the order on Tuesday after Thanksgiving.  Be sure to get your order in now so you can have it in time for Christmas.

Please Note:  As of this coming Tuesday evening ... I will be shutting the computer off so I can spend Thanksgiving with my family.  I will check back in on Sunday to answer any emails.    

  Have a Safe and Happy Thanksgiving!

Tuesday, November 13, 2012

Better Than Acrylic - Update


I wanted to give everyone a short update on my findings.  The Better Than Acrylic comes in 12" x 24" sheets... making it very easy to cut down to fit your 12" x 12" Cricut mat.  YAY! :) I will ship it in it's standard size so you have the option to use it for your larger Cricut projects... with your 12" x 24" mat.  Of course it cuts like butter with scissors or a paper cutter so you can cut it down to any size your heart desires.  Oh the possibilities!!

I will be posting the price and a link for pre orders shortly.  I am planning to have this in and shipped to you well before Christmas.  What a fun Christmas gift for that special crafty friend or maybe for yourself! :)    I am continuing to test this fabulous and amazing product and will have more projects and test results for you... very soon!

P.S.  I have had some inquiries on international shipping.  Yes, I will be happy to ship worldwide.  All I will require is that the package is insured against loss or damage.

Sunday, November 11, 2012

Better Than Acrylic - Christmas Ornament

I know I did a snow globe project yesterday, but I decided a snow globe was the perfect die cut to show my latest technique... using the better than acrylic (BTA) material.  So what is this technique I think is so wonderful?  I figured out how to heat emboss on the BTA without melting it.  I'm shocked as I just knew it was not going to work...so glad I gave it a try.  My mind is racing with ideas for the BTA and heat embossing. :)

Snow Globe Christmas Ornament
I Love how it looks like a real snow globe.  Since it maintains it's transparency...Santa is adhered behind the globe so it looks like it is snowing on him.  

 I Love how it looks like snow is really falling.  I know I already mentioned it snowing on Santa, but I just had to say it again. ;)
  
Close up...  As you can see ... the BTA didn't bubble, curl or melt away.  YAY!

In case you missed my first post regarding the BTA material... you can see it HERE.

More information on today's techniques and something that doesn't work very well:

1.  The best thing I have found to adhere to the BTA... that will not show through if applied correctly is Glossy Accents.  As long as you spread it out in a thin layer over the entire image... you will not be able to see it.  That's how I adhered the Santa to the globe and as you can see there are no glue lines. 

2.  I know I said you can use hot glue on the BTA and you can, BUT one of the things I glued yesterday ...I was able to pop right off today.  So not the best choice.  Also will not dry completely clear and will show glue lines.

3.  Heat Embossing ... things to know:

A.  I used a VersaMark pad and dabbed it over the area to be embossed.  Snow globe in this case.

B.  Then I sprinkled with embossing powder.  It is IMPORTANT to shake off as much of the excess powder as possible.  In this case... thinner is better.  If you have too much it will take too long to emboss and the BTA WILL MELT.

C.  When you apply the embossing gun... Do not hold it in one area until it is done.  The BTA will get too hot and start to curl and melt.  It is better to lightly hit an area for a few seconds... then move to another area.  Continue doing this until you've went over all of it.  Then you can go back over all of it again... for a few seconds at a time.  I went over my globe 3 to 4 times.

D.  If you think the BTA is getting too hot... turn off the heat embosser and let it cool down.  That's the good thing with heat embossing... you do not have to hurry.  Once the powder is sprinkled on you can take your time.  I turned my embosser off 2 or 3 times while doing the globe.

I will continue to experiment with heat embossing it and will let you know my results.

Another idea for this technique... a frosty glass window for the ever so popular window card.  You could frost the entire "glass" or make it look like the snow has gathered in the bottom corners.  Thinking I will have to try this.

How about some big frosty snowflakes for your favorite projects or to suspend from the ceiling to complete your holiday decor.

Possibly you could use colored embossing powder and create some big sparkly Christmas balls / ornaments.  There are lots of ornaments on various Cricut cartridges.

So many possibilities.  I would love to hear your ideas if you care to share? :)